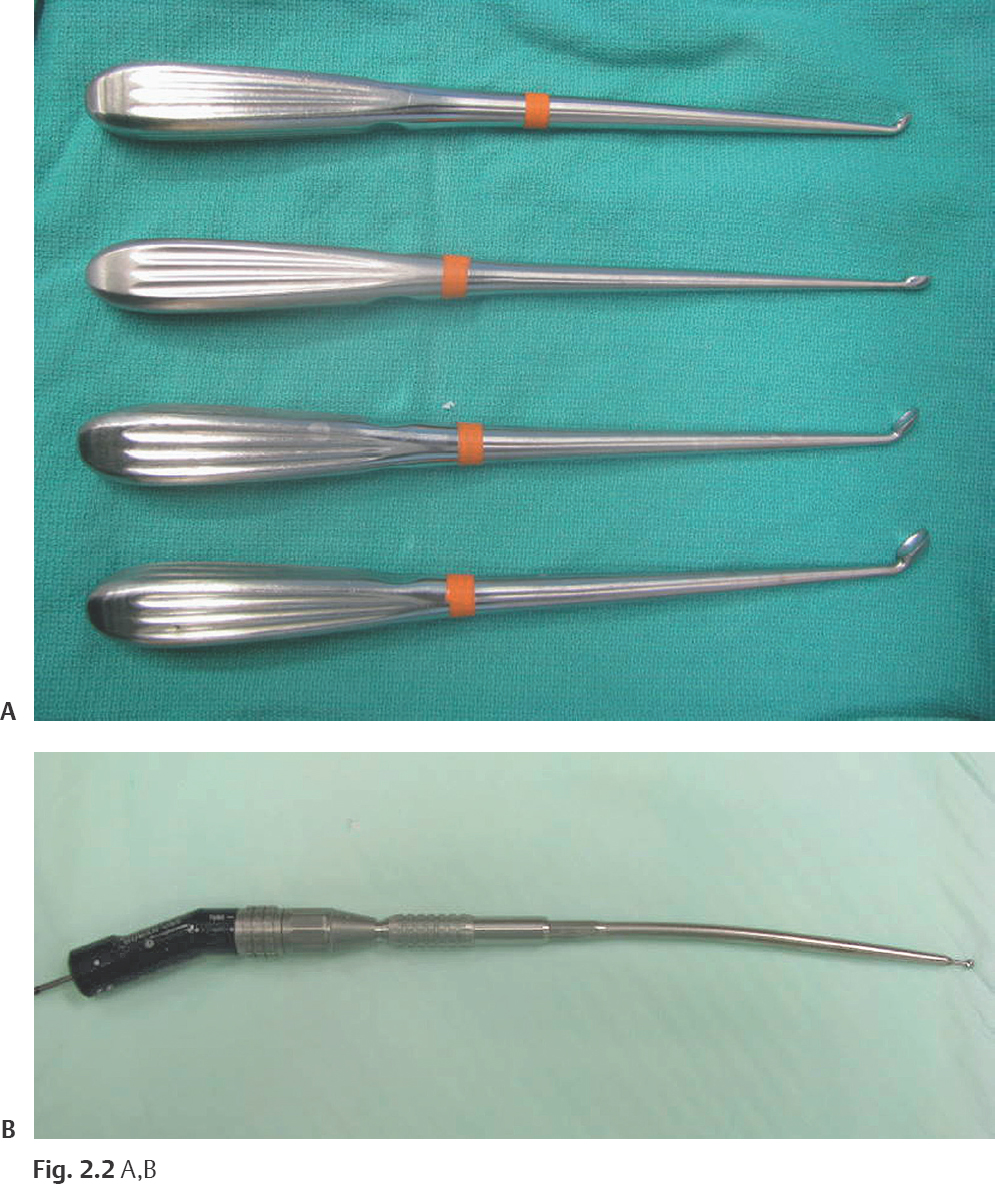
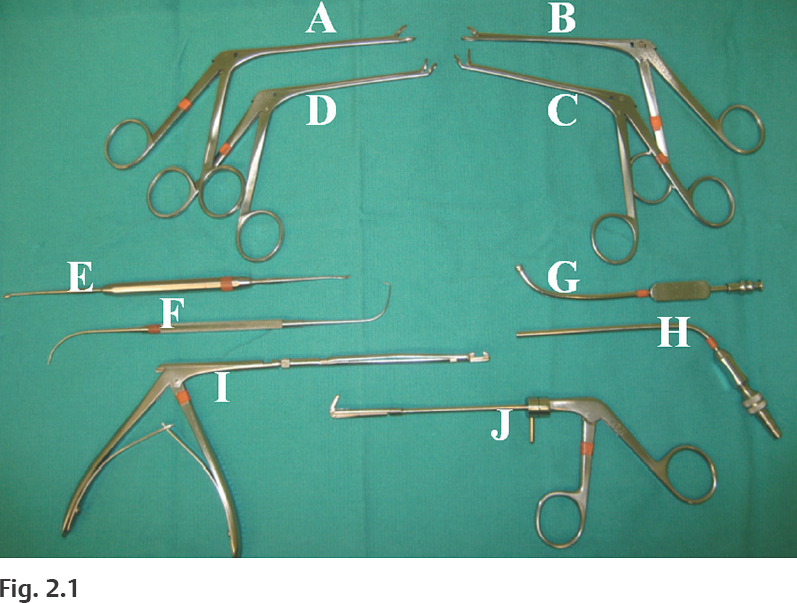
2 Very few instruments are actually required to perform basic ESS in the laboratory (Fig. 2.1). As one gains more surgical experience with advanced procedures or proceeds with live cases, however, additional instrumentation may be needed depending on the type of procedure or the surgeon’s personal preferences. In addition to a 30-degree telescope, the minimum instrumentation required for most of the basic dissections in this manual include the following: For advanced procedures, a 70-degree telescope is useful to visualize lateral or superior recesses of the frontal, maxillary, or sphenoid sinus. Curettes of various sizes are useful for removing thick bone, especially around the frontal ostium or sphenoid rostrum (Fig. 2.2A,B). Powered instrumentation with cutting or diamond burrs may also be necessary to carefully remove bone around critical structures, such as the lacrimal sac, skull base, optic nerve, or carotid artery. The surgeon should be sitting or standing comfortably at the patient’s side. A right-handed surgeon typically stands on the right side of the patient. If the surgeon chooses to sit, then a Mayo stand (cushioned with a pillow) is used to rest the arm holding the telescope at a comfortable height over the patient’s head. The video tower and any intraoperative imaging devices are positioned at the head of the table, facing the surgeon. The surgeon’s neck should be in a comfortable neutral position to avoid long-term strain on his/her C-spine, which can result neck pain.
Instrumentation, Set-Up, and Patient Positioning
 3.5-mm straight non-through-cut forceps (A)
 3.5-mm straight through-cut forceps (B)
 3.5-mm upbiting non-through-cut forceps (C)
 3.5-mm upbiting through-cut forceps (D)
 Cottle periosteal elevator (E)
 Ostium seeker or ball probe (F)
 4-mm long curved suction (G)
 Calibrated straight (Frazier) suction (H)
 360-degree sphenoid punch or forceps (I)
 360-degree backbiting forceps (J)
Ento Key
Fastest Otolaryngology & Ophthalmology Insight Engine